
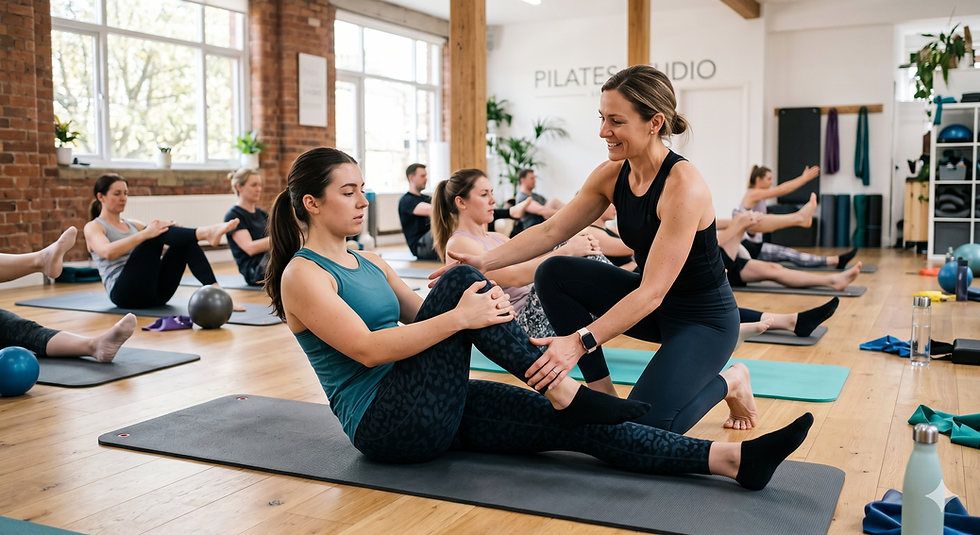
Pilates Movement Monday: Criss Cross with Magic Circle
- Michael King

- Nov 3, 2025
- 4 min read

Today we tackle the Criss Cross (yes, that twisty stomach move) and add a prop: the Pilates Circle (aka magic ring) to sharpen its effects. Because if you’re going to work, you might as well make it count.
Why this matters
1. The Criss Cross introduces rotation of the upper body around the spine, the transverse plane movement that many core routines ignore.
2. Using the circle places additional load via an object you must control, which increases proprioceptive demand and engagement of stabilisers. For example, placing the circle between the knees emphasises adductors, obliques and pelvic floor.
3. Historically the Criss Cross was introduced by the Pilates Method Alliance (PMA) as an “additional” movement in the mat series beyond the original 34. It underlines how the method evolves , good reminder for you and your clients that training must adapt.
What the Circle adds
• Helps maintain leg positioning , when the ring is between the knees or ankles you get tactile feedback to keep the legs controlled.
• Encourages correct alignment of the upper body and shoulders, if your shoulders turn but the rib-cage doesn’t, the ring’s resistance will expose the break in form.
• Intensifies the spinal twist aspect by anchoring the lower body slightly more, so the rotation must originate from the thoracic spine instead of momentum.
How to cue it (yourself or your clients)
1. Lie supine, knees bent in table-top (hips 90°, knees 90°). Circle is placed between the knees (or ankles if more advanced) with a gentle squeeze.
2. Hands behind the head, elbows wide. Lift head, neck and shoulders to establish the curl.
3. Exhale to extend one leg (straight or slightly bent depending on level) while rotating upper body bringing opposite elbow towards the moving leg’s knee. The ring remains squeezed.
4. Inhale through the centre, maintain the curl. On the next exhale switch sides.
5. Throughout:
• Keep pelvis stable , no rocking or tilting.
• Rotate from the ribs/thoracic spine, not by pulling the neck or using the shoulders.
• Maintain the squeeze of the circle as a constant cue for connection and control.
• Keep the chest-lift height consistent throughout; fatigue will drop it if unchecked.
Progressions & regressions
• Regression: Keep both knees bent and feet on the mat or in tabletop, shorten range of motion of leg extension, reduce rotation amplitude.
• Standard: Tabletop legs, full rotation, ring between knees.
• Progression: Extend legs further (closer to floor), ring between ankles, lengthen the hold in rotation or add a pulse at the twist peak. Also could hold the rotation for 2-3 seconds before switching.
• Advanced: Use the circle above the head or between ankles, extend one leg while rotating, maintain curl and stability throughout many reps.
Why we care (for your clients)
• Enhances thoracic rotation which supports improved posture, shoulder mobility and integrated core work , all essential in Pilates and in movement beyond the studio.
• Builds oblique and deep core muscle engagement rather than just rectus abdominis crunching motions.
• Provides a means to bridge matwork and equipment-work (e.g., using rings or small props on the Reformer or Chair) by offering a prop variant of a classical movement.
• For your teaching context it gives a tool (the circle) to illustrate spine twist versus leg movement, helping clients feel where the work should come from.
Common faults & how to fix them
• Fault: Pelvis rocking side to side.
Fix: Cue a neutral pelvis, slow the tempo, reduce leg range; emphasise that rotation comes from the rib-cage, not the hips.
• Fault: Using neck/shoulders to turn instead of thoracic spine.
Fix: Cue “chin slightly tucked”, “lead with the ribs” or “reach rib to opposite hip”. Use hands gently behind head but don’t pull.
• Fault: Circle drops or squeezes unevenly.
Fix: Reduce leg extension or rotation amplitude; emphasise the ring as sensor of control, not just a prop to manipulate.
• Fault: Chest-lift height decreases mid-set.
Fix: Shorter sets, rest between sides, cue consistency of height; emphasise quality over quantity.
Session idea (for your Matwork class or workshop)
• Warm-up 3-5 minutes: basic curl up, rib-cage awareness, neutral pelvis, gentle twists without leg extension.
• Introduce circle between knees, perform 8-10 controlled reps each side of Criss Cross with circle.
• Move into a small linking sequence: after Criss Cross, stay in curl, hold ring with arms extended overhead or out to sides, and perform small rotational pulses to each side (10 pulses each).
• Follow with a mobility/extension piece (e.g., thoracic rotation on all-fours or side-lying rotation) to counterbalance the torsional load.
• Cool-down: neutral spine, slow chest lift, gentle pelvic floor activation, breathing. Link back to how the circle use helps dynamic rotation control.
Final thoughts
Using the ring with Criss Cross gives your clients (and you) an opportunity to refine control and deepen the rotational work. It keeps the movement honest. In a world filled with crunches and squat-variations, including exercises like this reminds us that Pilates is about precision, quality and integrated movement. Use the circle not as gimmick but as sensor and guide. Your clients’ thoracic rotation, oblique strength and pelvic stability will thank you.


Comments